How To Setup Navigator for Roku
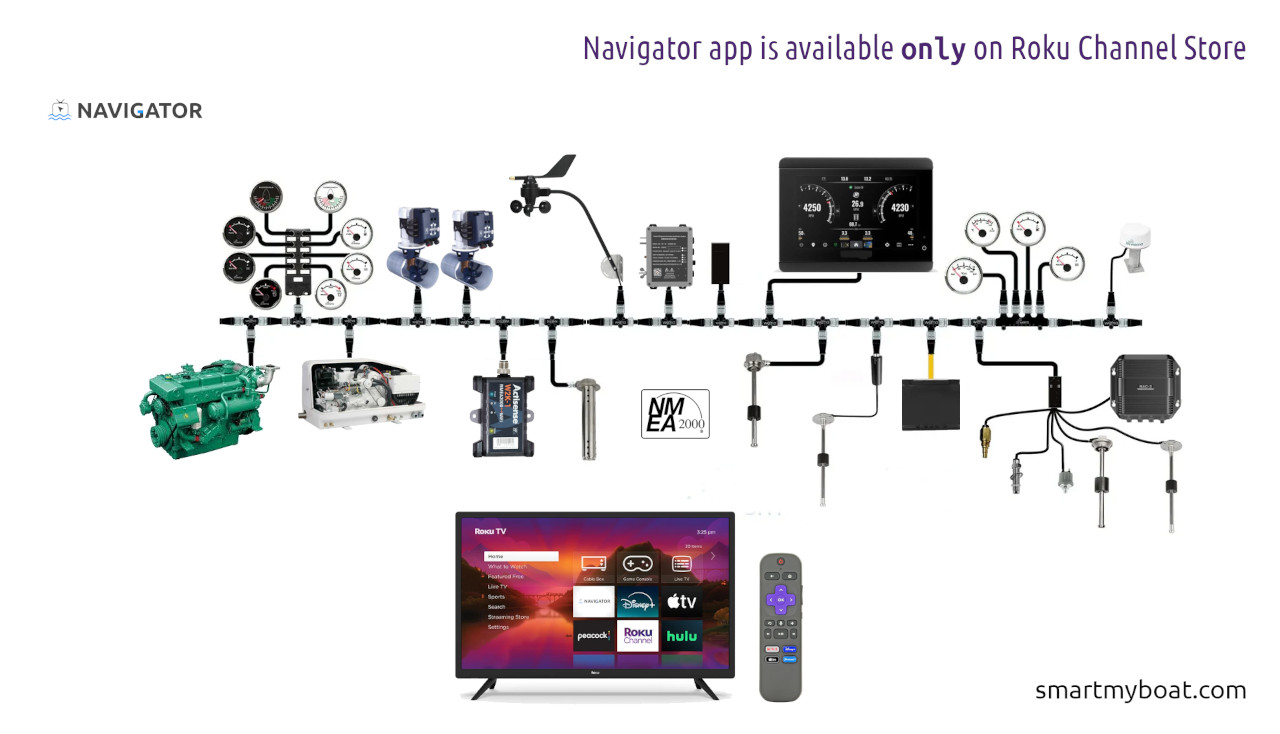
Need help with your Smart My Boat Navigator? Our Help Center provides tips, tutorials, and answers to frequently asked questions. To get started with the Roku app:
From your Roku Home screen, go to Store > Channels.
Find Navigator under apps and video, highlight it, and press OK.
Select Add channel to install.
Once added, Navigator will be on your Home Screen.
If you’re having trouble accessing Roku, it might be a temporary issue on their end.
Opening and Initial Setup:
Launch Navigator from your Home Screen.
Press OK to acknowledge the disclaimer. A warning will appear if there's no WiFi or data; press OK to dismiss it.
Press the star (*) button to access Settings and configurations.
Go to Device and press OK for gateway settings.
Choose your device type: Actisense or Yacht Devices (Actisense simulator is for specific testing).
Press the back button and select Device address to enter the gateway's IP address using the numeric keyboard, then Save.
Press back and select Device Port to enter the port number. (IP and port are configured during gateway setup; refer to your NMEA gateway manual.) Save and press the Home button to exit. Restart the app.
Subscription Management:
Use the Subscription button, then Upgrade or Downgrade to manage your subscription.
App Configuration:
Press the star (*) button (Options) on your Roku remote.
Navigate to View and select either Navigation screen configuration or Miscellaneous screen configuration.
In Navigation screen settings, deselect instruments you don't want to see.
Go back to Miscellaneous setting to configure tanks (water, fuel, waste) and engine RPM/battery info. Configure each of the four tank slots to match your boat.
Press back and go to Propulsion to set the number of engines (up to two).
Press back and choose your preferred battery level display (all batteries or none).
Your initial Smart My Boat Navigator setup on Roku is now complete!
Read more: SmartMyBoat Navigator – Your boat’s TV just got a LOT smarter!